 |  |
Okay, so I'm really excited to share this project with you because I think it's so easy, and it looks so cute! You can really hang these anywhere in your home or office, but "BFF Elysa" needed something pretty above her vanity, and so, the Five Dollar Vanity Decor was born!
So we started with her blank vanity wall. That wall just looks so sad and lonely. It's just begging for a little gold right?!...

Elysa took to pinterest and found some of her favorite sayings and decor for me to re-create. I opened up Word, and messed around with different fonts until I was satisfied with the look I created. (See photo caption below for fonts used) I repositioned everything so it would sit on the center of the page, changed the font color to a VERY light grey color, and hit print! Next, I got out my handy dandy Craft Smart Gold Paint Pen and traced over all the pretty things I printed off of Word! Ahh, so pretty! (Don't mind my little helper!)
 | ||
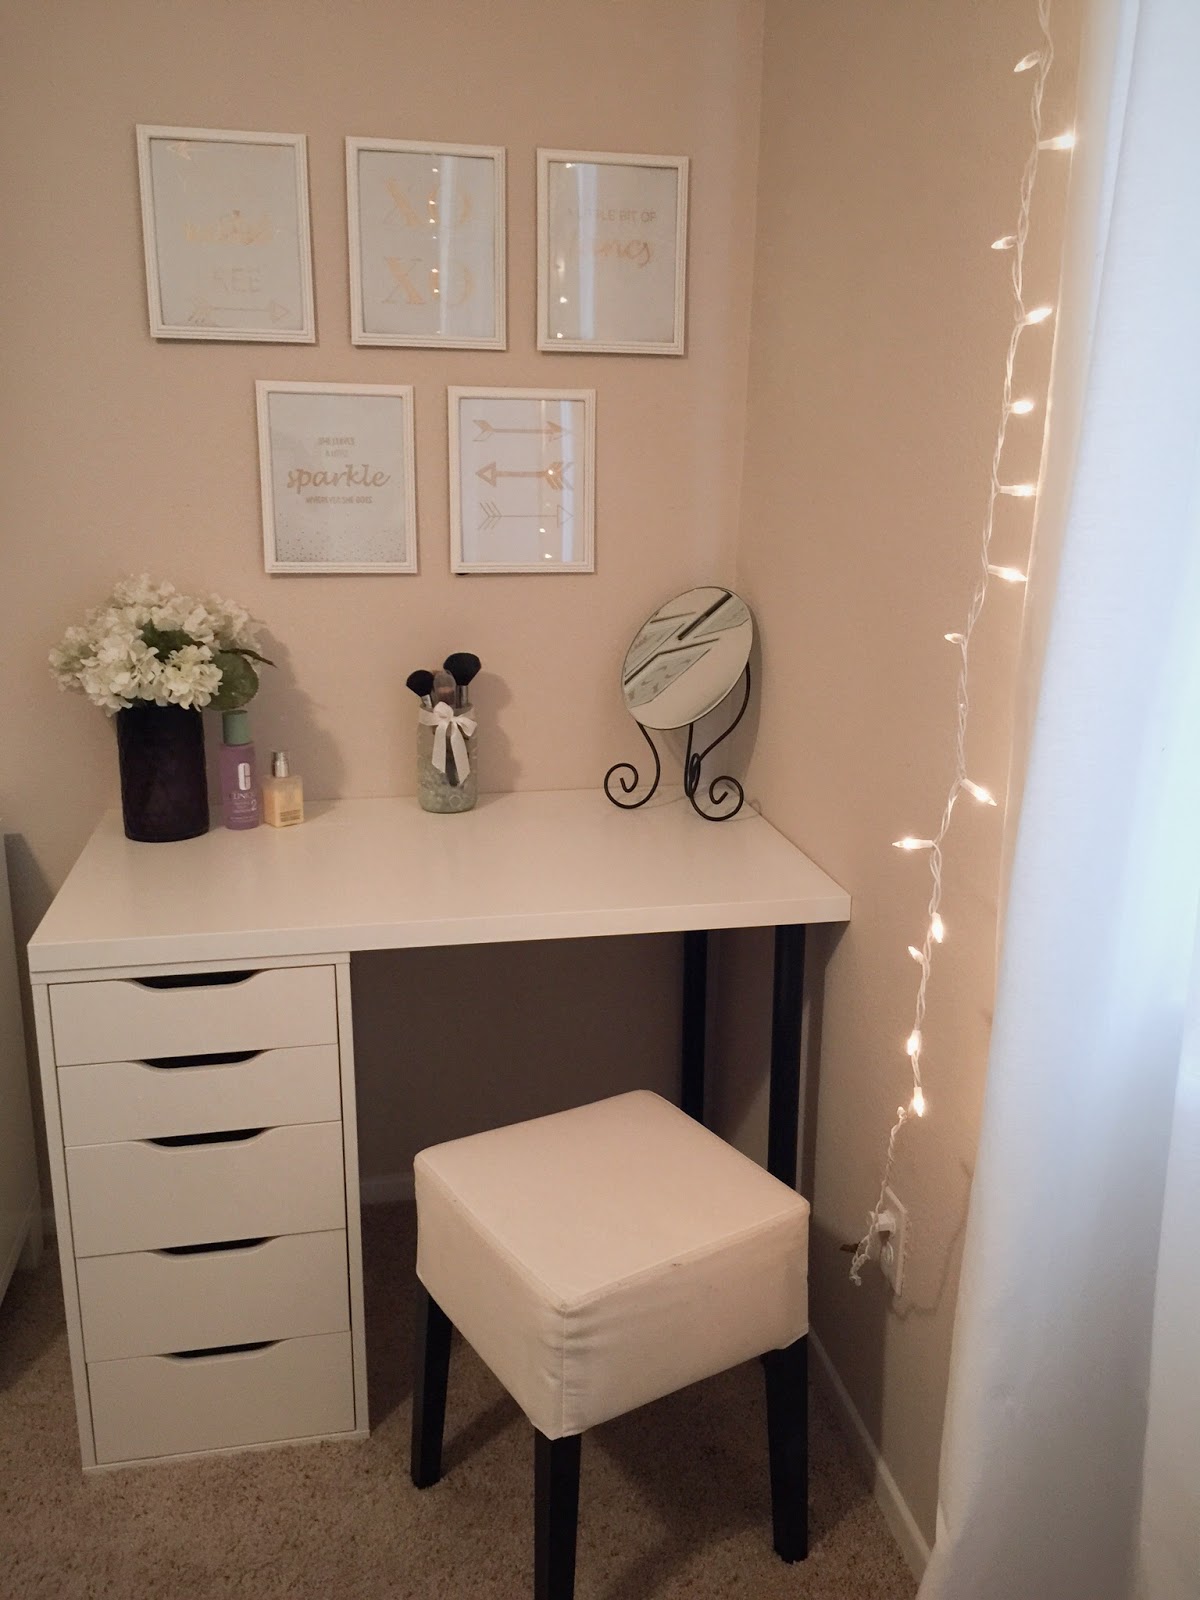
| Fonts from left to right: Calibri Light/Lucida Handwriting, Avenir Next Condensed Demi Bold/Lucida Handwriting, Bakersfield Old Face, Lantinghei TC/Lucida Handwriting, (arrows are hand drawn). |
Once I had all of the wall art done, we took a trip to The Dollar Tree and found these ugly brown frames. But, as we all learned from my previous furniture update post, you can fix almost anything with a nice new coat of paint!

Since we were painting the frames white we took all five of them apart and ended up with just the frames and no glass or backing...

Next, we laid out a few brown paper bags as drop cloths and got all of our paint and supplies ready!

We painted all the frames with a couple coats of the "Polar Bear" white paint and let them dry. (Can you tell I'm going through a white paint obsession phase? haha)

Once the paint was completely dry, we cleaned the glass and put the pictures in their frames...omg, what a difference a couple coats of paint can make, I'm obsessed!

Last step! We decided how we wanted to place the pictures on the wall, measured everything so that it would be level, and hung each picture on one nail...

...AND...DONE!!!
 |
The wall just looks so much happier! And the total cost for this project...wait for it...FIVE DOLLARS! So easy, so pretty, SO cheap! :)
|
|
|
Please feel free to leave any questions or comments in the comment section below, or email me at thecaliforniacupcake@gmail.com! Don't forget to subscribe via email for updates!
XO.


No comments:
Post a Comment